

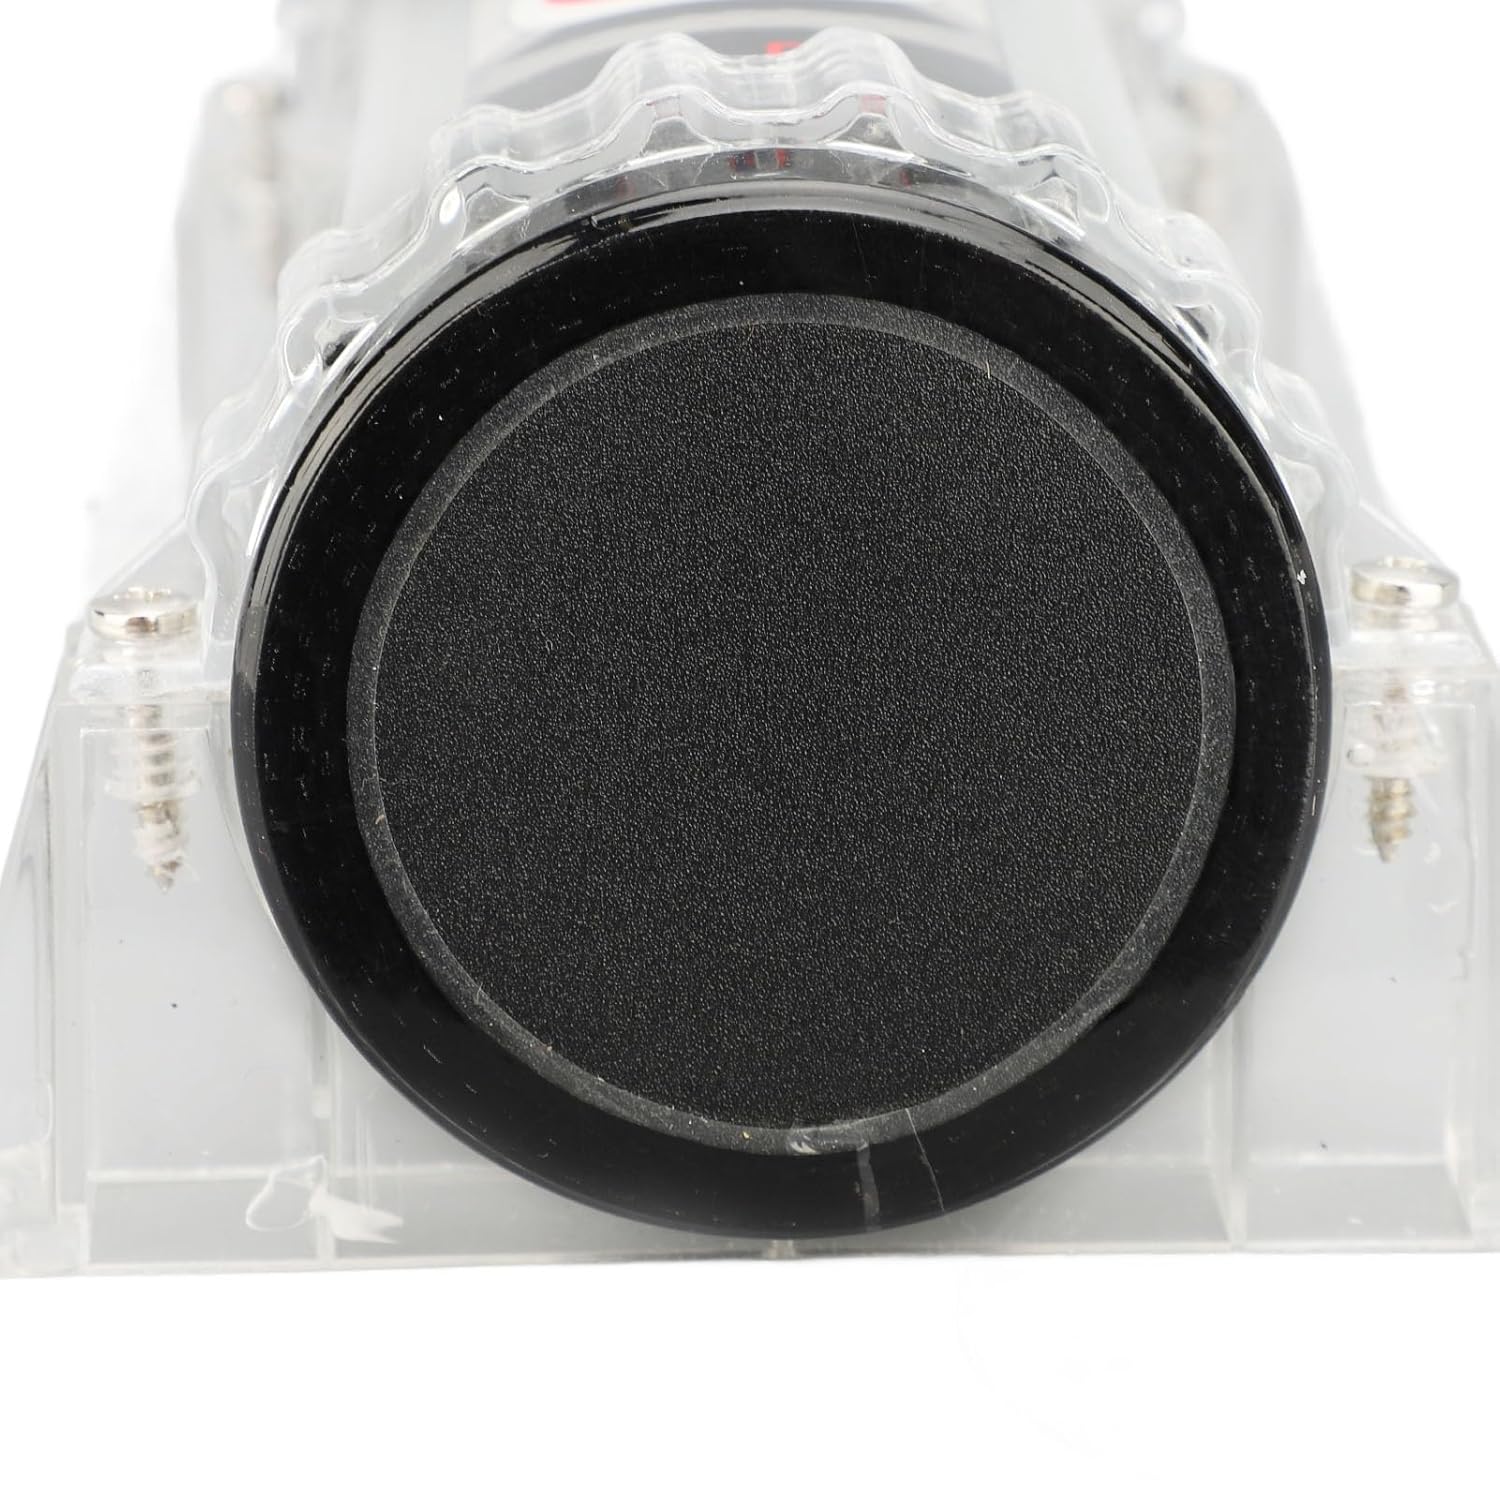
9.0 Car Energy Storage Capacitor with Powerful Performance, Superior Sound Quality, and AntiInterference Design for Car Sound System DC12V, Stabilizes Voltage Output
Product details
| Management number | 218517875 | Release Date | 2026/05/03 | List Price | $26.84 | Model Number | 218517875 | ||
|---|---|---|---|---|---|---|---|---|---|
| Category | |||||||||
1. [POWERFUL PERFORMANCE] Enhance your car's sound system with a 9.0 digital power capacitor for superior voltage stability. 2. [SUPERIOR SOUND QUALITY] Enjoy clear and high-grade sound with current supplementation for a more pleasant driving experience. 3. [ANTI-INTERFERENCE DESIGN] Eliminate disturbances and enjoy clearer music with strong anti-interference capability. 4. [UNIVERSAL COMPATIBILITY] Ideal for a wide range of car with easy installation for sound system upgrades. 5. [PREMIUM MATERIALS] Made with high-strength metal and plastic for stability and reliability, ensuring long-term usage. Specification: Item Type: Car Capacitor Material: Metal, Plastic Operating Voltage: DC12V Features: 9.0 , Reverse Connection Guard Application: Supplementing current in case of unstable vehicle voltage, ensuring stable output of amplifier Installation Method: 1. For best results, the capacitor should be installed as close to the power amplifier as possible, using short power lines to connect. Install the capacitor in a place that is not easily accessible and to some extent isolates heat generated by the amplifier. 2. Keep the power lines as short as possible and use a dedicated wire distribution seat to connect the battery circuit. Do not install the fuse between the capacitor and power amplifier. Ensure appropriate fuses are used to protect the power supply line on the battery's main supply cable. 3. The negative connection of the capacitor should be as short as possible, directly connecting to the bare metal cable of the car chassis. Do not connect the negative terminal or negative wire of the power amplifier directly to the negative pole of the capacitor (see Fig.1). 4. The power line of the capacitor should have the same GA number as the power line of the power amplifier, using high-performance 8 or 10AWG OFC wire is recommended. 5. If the capacitor comes with a control line, use 18-20AWG main wire to connect the power amplifier's control line. Connect one end of the control line to the car sound's automatic antenna connector. Charging Process and Display Function Instructions: 1. Connect the power line. First connect the negative, then connect the positive. 2. During the first charging process, the digital display circuit system will automatically turn on. The status light automatically lights up and the decimal point of the voltage flashes, which indicates that the system is charging the capacitor. 3. When the capacitor is fully charged, the decimal point display does not flash, and the digital tube displays the DC voltage of the car's charging system. 4. If the DC voltage change of the automotive electronic system exceeds +/-0.1A, the digital display circuit board will automatically start. (For example, the output voltage drops significantly due to the heavy bass playing by the car sound and video system or the use of some other high consumption electronic equipment). 5. If the DC voltage change of the automotive electronic system does not exceed +/-0.1A, the digital display board will remain in the original state for one minute to ensure that the automotive electronic system is stable, and then the digital display on the circuit board will automatically explode and the capacitor will enter the "standby" state. 6. When the DC voltage change of the automotive electronic system exceeds +/-0.1A, the capacitor will automatically work again, and the safety guard function is: If the user is not careful to reverse the positive and negative terminals, it can damage the system, may also cause harm to the user, so we set up a relay in the circuit board, it can protect the capacitor in the case of incorrect wiring, so that the device can not start, and the buzzer to warn. The capacitor can only work properly if it is operated according to the instructions and all wires are connected correctly. packing list: 1 x Capacitor 2 x Wrenches 4 x Screws 1 x User Manual
- [POWERFUL PERFORMANCE] Enhance your car's sound system with a 9.0 digital power capacitor for superior voltage stability.
- [SUPERIOR SOUND QUALITY] Enjoy clear and high-grade sound with current supplementation for a more pleasant driving experience.
- [ANTI-INTERFERENCE DESIGN] Eliminate disturbances and enjoy clearer music with strong anti-interference capability.
- [UNIVERSAL COMPATIBILITY] Ideal for a wide range of car with easy installation for sound system upgrades.
- [PREMIUM MATERIALS] Made with high-strength metal and plastic for stability and reliability, ensuring long-term usage.
| Model | Aumotop60lhwx2r4t |
|---|---|
| Brand Name | Aumotop |
| Part Number | Aumotop60lhwx2r4t |
| Manufacturer | Aumotop |
| Included Components | no |


Bestseller ranking
Capacitors


Customers who viewed this product also viewed
Candlestick Holders


Correction of product information
If you notice any omissions or errors in the product information on this page, please use the correction request form below.
Correction Request Form